The following example shows how to use SuperSERVICE Manager to create a service called SuperSTAR that starts SuperADMIN and SuperSERVER. This example assumes that the applications have been installed to the default installation locations.
-
Start SuperSERVICE Manager from the Windows Start menu.

-
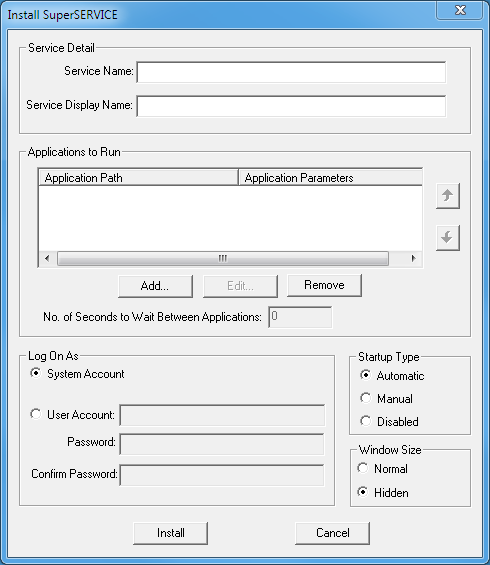
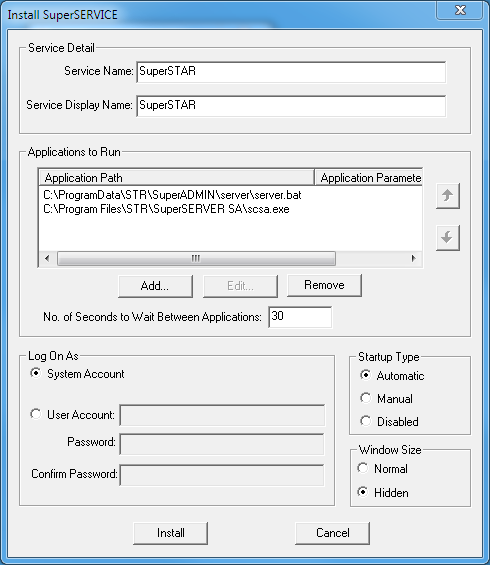
Click Install SuperSERVICE. The Install SuperSERVICE window displays.
-
In the Service Name and Service Display Name fields, enter SuperSTAR.
-
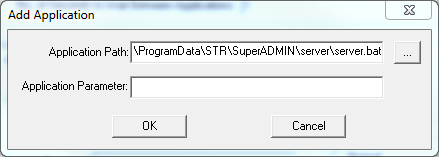
In the Applications to Run section, click Add. The Add Application window displays.
-
Click ... and browse to and select C:\ProgramData\STR\SuperADMIN\server\server.bat
-
Click OK.
-
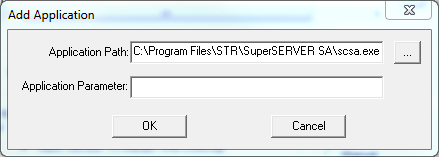
Click Add again. The Add Application window displays.
-
Click ... and browse to and select C:\Program Files\STR\SuperSERVER SA\scsa.exe
-
Click OK.
-
In the No of Seconds to Wait Between Applications field, enter a suitable value, e.g. 30 seconds.
-
Leave the rest of the options set to the default values:
-
Log On As - System Account
-
Startup Type - Automatic
-
Window Size - Hidden
-
-
Click Install. A Success message displays.
-
Click OK.
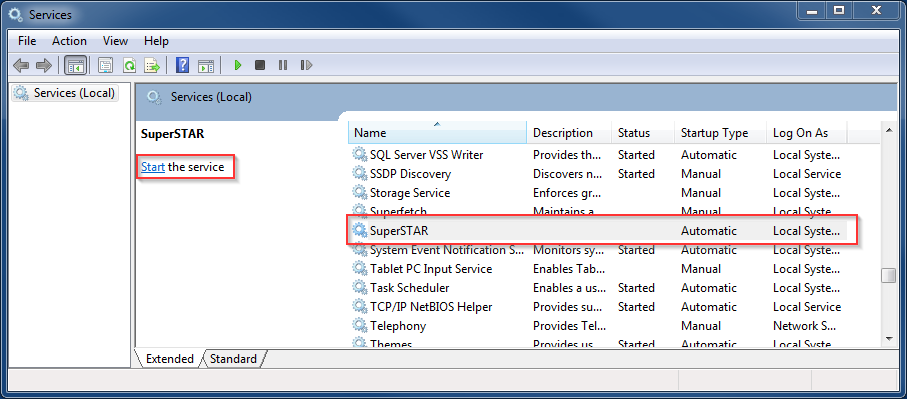
The service is now installed and will start up automatically when the machine starts.
To verify that the service has been created successfully:
-
Go to the Windows Services console and start the service.
-
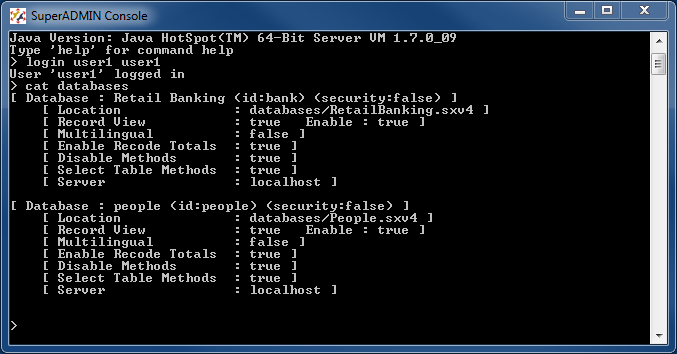
Start the SuperADMIN Console and verify that you can login: