
Use the Layer Control window to configure the main features of the chart and to add additional layers, such as annotations.
Select View > Layer Control to show or hide the Layer Control window.
|
You Can... |
Do This... |
|---|---|
|
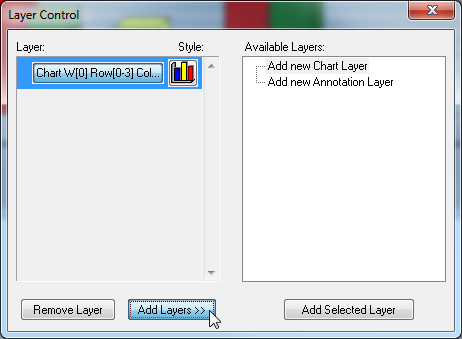
Add additional layers for charts or annotations |
|
|
Show or hide layers |
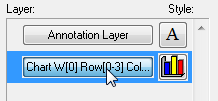
Click the main button in the Layer section to show or hide a layer: |
|
Configure layers |
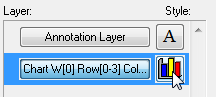
Click the Style button to configure that layer's settings (see below for more details): |
|
Remove a layer |
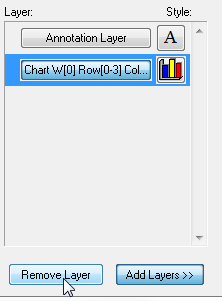
Select the layer and click Remove Layer: |
Layer Style
Click the Style button to configure the layer settings:
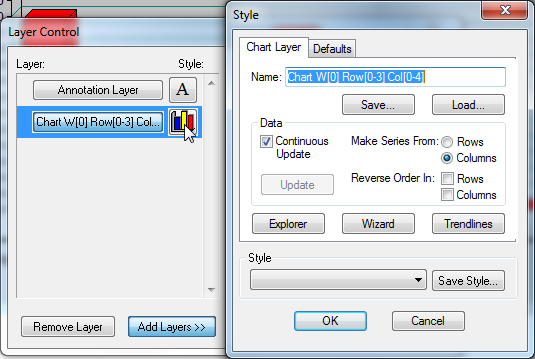
The following settings are available:
|
Setting |
Description |
|---|---|
|
Name |
The layer name. Displayed in the Layer Control window. |
|
Continuous Update |
|
|
Make Series From |
Configures whether the rows or columns from the table display as a series in the chart. |
|
Reverse Order In |
Select the check boxes, to reverse the order of the rows or columns from the order they appear in the table. |
|
Explorer |
Click to open the Chart Explorer. |
|
Wizard |
Click to open the Chart Wizard. |
|
Trendlines |
Click to open the Trendlines window. |
|
Style |
Click Save Style to save the settings as a default. You can apply saved settings to a layer from the Defaults tab. |