
When an Active Directory authentication service has been configured, it is possible to enable single sign on with Kerberos for Windows users of SuperCROSS and the SuperADMIN console.
This means that users can log in to SuperCROSS automatically based on their Windows login credentials, without them having to specifically enter a username and password.
Single Sign On with Kerberos is not supported by SuperWEB2. It is only supported by SuperCROSS and SuperADMIN running on Windows.
There are a number of steps required to set up single sign on:
Step 1 - Activate Single Sign On in SuperADMIN
The first step is to configure your authentication service in SuperADMIN.
Once you have set up authentication, you need to enable Kerberos using the following command (replace <service_name> with the name of your authentication service):
auth <service_name> useKerberos true
Once Kerberos is enabled, the console will automatically start using it. You will be able to log in to SuperADMIN in future simply by using the login command without any arguments:
login
If Kerberos is working, you will be immediately logged in based on your Windows credentials and will see a message similar to the following:
user <your-windows-username> logged in
If Kerberos is not working, you will be prompted to enter a username and password.
To login as a different user when Kerberos is enabled, you must specify the alternative username and password with the login command:
login <other-user> <other-user-password>
The SuperADMIN console will automatically attempt Kerberos authentication when it is enabled on the server. However, by default, it will attempt the standard SuperADMIN authentication first, requiring a username and password to be entered before proceeding to try Kerberos.
To give preference to Kerberos authentication, increase the priority of the Kerberos-enabled authentication service. For example:
auth <service_name> priority 200
Step 2 - Enable Single Sign On in the SuperSTAR Clients
Some additional configuration is required in order to use single sign on with the SuperSTAR clients.
SuperCROSS
To use single sign on with SuperCROSS, you need to make the following changes on every machine where SuperCROSS is installed:
-
Close SuperCROSS if it is running.
-
Open the ssii.ini configuration file in a text editor (by default this is located at C:\ProgramData\STR\SuperCROSS\Catalogue\ssii.ini).
-
Add or update
[SingleSignOn]section of the file:[SingleSignOn] SSODLL=SSPI_Kerberos.dll SingleSignOnEnabled=1
The
SingleSignOnEnabledsetting in the ssii.ini file is supported from version 9.9.2 onwards. Previously this setting was stored in the Windows Registry. If you are upgrading from an earlier version and you use Single Sign On you will either need to add this setting to the ssii.ini file manually, or follow the steps below to reselect the single sign on option in the SuperADMIN Connection dialog.
-
Save the file and restart SuperCROSS.
If you have upgraded from an earlier version of SuperCROSS, you may need to follow these steps to reenable Single Sign On:
-
In SuperCROSS, select File > SuperADMIN Connection.
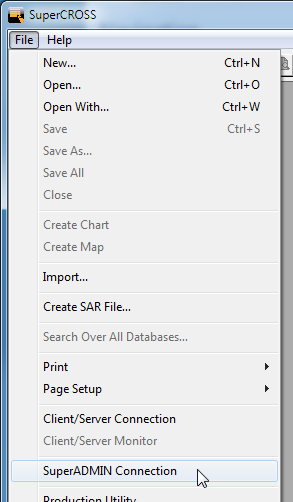
The SuperADMIN Connection dialog displays.
-
Select the Automatic sign-on using Windows credentials (Kerberos) check box:
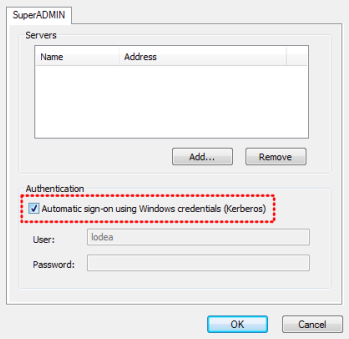
-
Click OK.
You can now connect to databases as usual without needing to provide any credentials.