Install
These are the instructions for installing just the SuperCROSS client. Alternatively, you can install the SuperSTAR Suite, which installs all the SuperSTAR applications, including SuperCROSS, as part of a single install process.
The installation process will install some required third party components if they are not already present on your machine. You may be prompted to restart to complete the third party installation process.
To install your software:
- If you are upgrading from a previous version of SuperCROSS, you must remove the previous version first. Follow the instructions to remove the existing version before continuing.
Open Windows Explorer and browse to the installation package. This will either be on a DVD that has been supplied to you or a package that you have downloaded.
If you have downloaded the installation package, then you may need to unzip the files first.
Double-click setup.exe

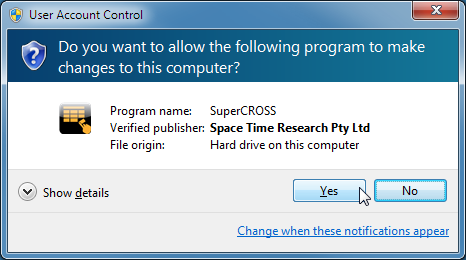
You may see a User Account Control warning, asking "Do you want to allow the following program to make changes to your computer?" If you see this message, click Yes.
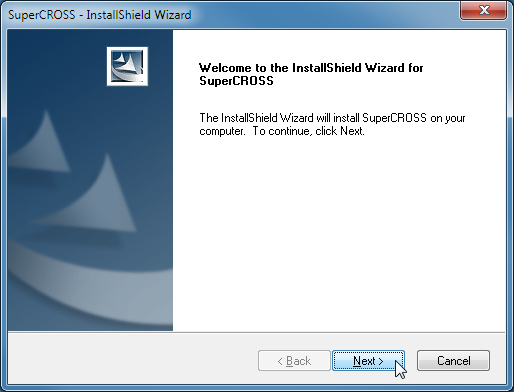
The splash screen appears, and then the Wizard starts to run.

Click Next on the Welcome screen.
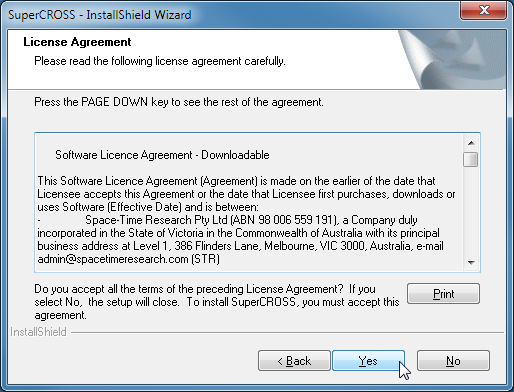
The License Agreement appears.
Read the agreement and click Yes.
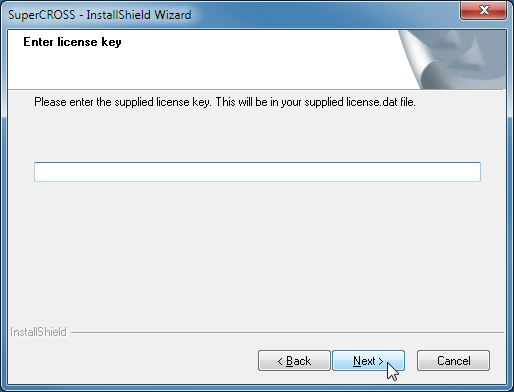
The next screen you see depends on whether your install package has been preconfigured with a licence key.
If you see the Enter license key screen, enter your licence key and click Next.
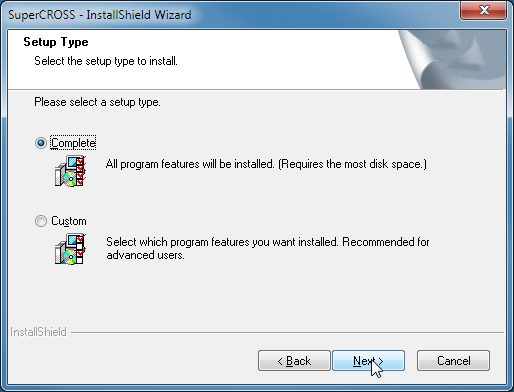
The Setup Type screen appears.
Select either Complete or Custom.
Complete Or Custom Installation?
The only difference between the installation types is that Complete installs to the default directory locations, while Custom allows you to choose the location of the SuperCROSS program files and program data files. If you choose a Complete installation, the files will be installed as follows:
SuperCROSS program file components: C:\Program Files\STR\SuperCROSS
SuperCROSS data file components: C:\ProgramData\STR\SuperCROSS
If you selected a Custom installation, follow the prompts to select the installation locations.
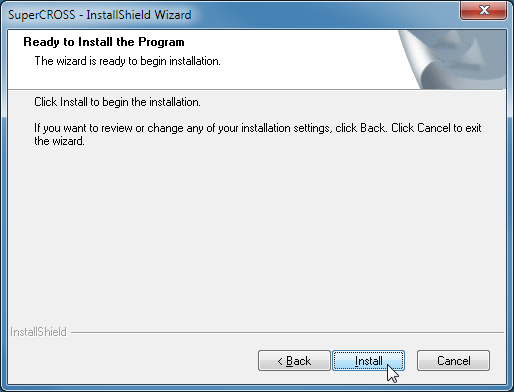
The Ready to Install screen displays.
Click Install to begin the installation.
Wait for the installation to complete.
When the installation completes, leave the check box selected and click Finish to start SuperCROSS.
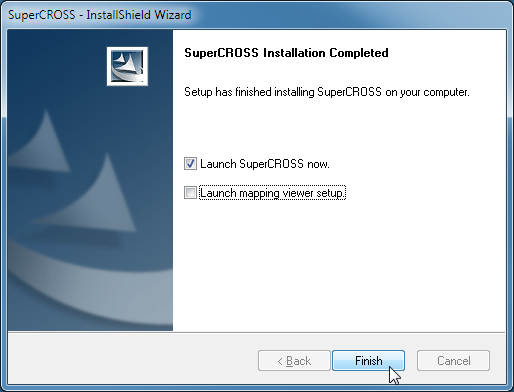
If you want to want to install the SuperCROSS mapping viewer, select the Launch mapping viewer setup check box first before clicking Finish. See Install ESRI ArcExplorer for more details.
Further Information
| Install Multiple Copies of SuperCROSS on one computer | This section contains information about how to install multiple copies of SuperCROSS on one computer. This is useful when you want to run multiple copies of SuperCROSS in server mode, or have different SuperCROSS configurations available. |
|---|---|
| Silent Install / Uninstall of SuperCROSS | These instructions explain how to set up a silent installation of SuperCROSS. For example, you might want to set this up so you can deploy a large number of SuperCROSS clients across your organisation. |
| Uninstall SuperCROSS | This section contains some information about uninstalling SuperCROSS. |
