Install - SuperCHANNEL
These are the instructions for installing just SuperCHANNEL. Alternatively, you can install the SuperSTAR Suite, which installs all the SuperSTAR applications, including SuperCHANNEL, as part of a single install process.
Notes
- These instructions are for Microsoft Windows only.
- In order to install SuperCHANNEL you must have local administrator access.
- SuperCHANNEL requires the Java Runtime Environment (JRE). The installer automatically installs JRE 1.7.0 if it is not available on your system.
- For full details of the system requirements for SuperSTAR, refer to Installation Requirements, Compatibility and Supported Platforms.
- There are two versions of the SuperCHANNEL installer, a 32 bit and a 64 bit version. The 32 bit version is specifically for building SXV2 and SXV3 format SuperSTAR files. If you only need to build SXV4 files please use the 64 bit installer.
- You can only install one instance of SuperCHANNEL on a machine. If you run the installation a second time, it will remove the software.
- The installation process will install some required third party components if they are not already present on your machine. You may be prompted to restart to complete the third party installation process.
Install SuperCHANNEL
To install SuperCHANNEL:
Open Windows Explorer and browse to the installation package. This will either be on a DVD that has been supplied to you or a package that you have downloaded.
If you have downloaded the installation package, then you may need to unzip the files first.
Double-click setup.exe.

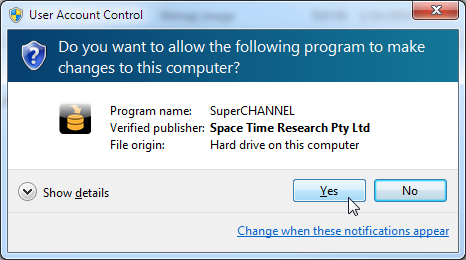
You may see a User Account Control warning, asking "Do you want to allow the following program to make changes to your computer?" If you see this message, click Yes.
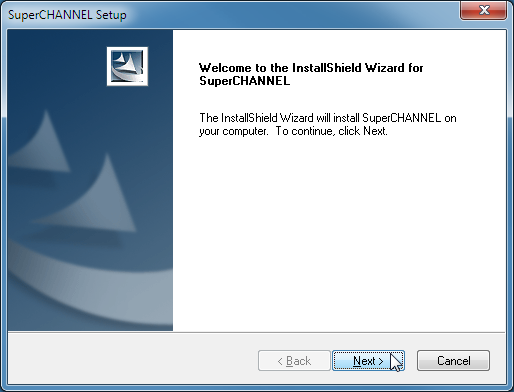
The splash screen appears and then the wizard starts to run.

Click Next on the Welcome screen.
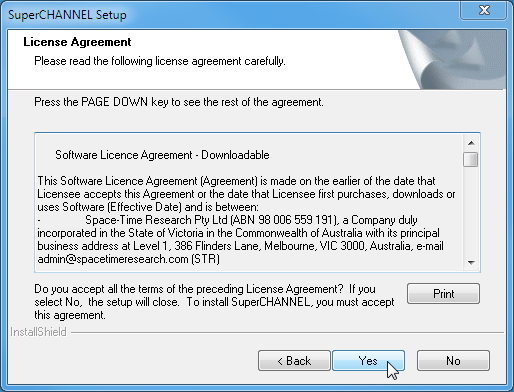
The License Agreement appears.
Read the agreement and click Yes.
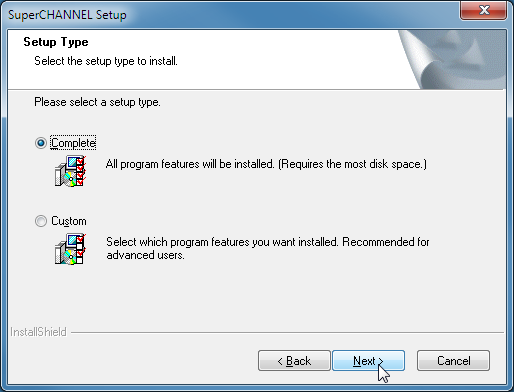
The Setup Type screen appears.
Select either Complete or Custom and click Next.
Complete Or Custom Installation?
The only difference between the installation types is that Complete installs to the default directory locations, while Custom allows you to choose the location of the SuperCHANNEL program files and program data files. If you choose a Complete installation, the files will be installed as follows:
- SuperCHANNEL program file components: C:\Program Files\STR\SuperCHANNEL
- SuperCHANNEL data file components: C:\ProgramData\STR\SuperCHANNEL
If you selected a Custom installation, follow the prompts to select the installation locations.
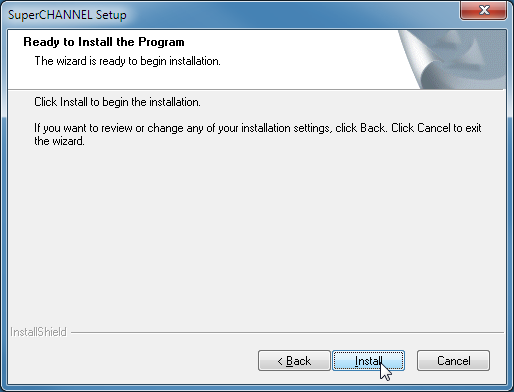
The Ready to Install screen displays.
Click Install to begin the installation.
Wait for the installation to complete.
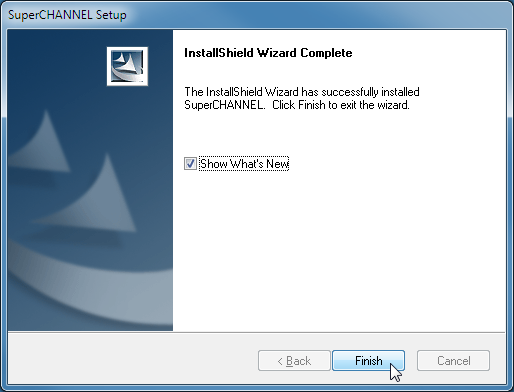
Click Finish.
Next Steps...
- Install the appropriate JDBC drivers for connecting to your source database.
- Follow the tutorial to get an overview of how SuperCHANNEL works.
